Polycrylic typically takes around 2 hours to dry to the touch and 24 hours to fully cure. The drying time may vary depending on temperature and humidity levels.
Polycrylic is a popular protective finish for wood surfaces due to its fast drying time, durability, and low odor. It provides a clear, durable finish that resists water, chemicals, and abrasion, making it ideal for use on furniture, cabinets, and other wood projects.
Understanding the drying time for polycrylic is important for achieving a smooth and flawless finish. Factors such as temperature and humidity can affect the drying process, so it’s essential to consider these variables when applying polycrylic. By following the recommended drying times and conditions, you can ensure the best results for your woodworking projects.

Credit: sawsonskates.com
Factors Affecting Drying Time
Factors affecting drying time of Polycrylic include humidity levels, temperature, ventilation, and thickness of application. Generally, it takes around 2-4 hours to dry to the touch and 24 hours to fully cure. Efficient drying conditions lead to a quicker drying process.
Factors Affecting Drying Time Humidity Levels: When it comes to the drying time of Polycrylic, one of the key factors to consider is the humidity levels in your environment. Humidity refers to the amount of moisture present in the air, and it plays a significant role in how long it takes for Polycrylic to dry. When the humidity is high, the drying process slows down as the moisture in the air hinders the evaporation of water from the Polycrylic. On the other hand, low humidity levels speed up the drying process as there is less moisture in the air to interfere with evaporation. Temperature: Another important factor that affects the drying time of Polycrylic is the temperature of the environment. Higher temperatures can accelerate the evaporation process, leading to faster drying times. Conversely, colder temperatures slow down the drying process as it takes longer for the water in the Polycrylic to evaporate. It is important to note that extreme temperatures, either too hot or too cold, can also have negative effects on the quality of the finish, so it’s essential to choose an optimal temperature range for applying Polycrylic. By understanding these two factors – humidity levels and temperature – you can better estimate how long it will take for Polycrylic to dry. Adjusting these factors can help you achieve faster drying times or ensure optimal conditions for a high-quality finish. Be mindful of the humidity and temperature in your environment when applying Polycrylic to achieve the desired results.Preparation For Polycrylic Application
Surface Cleaning
Clean the surface thoroughly using a mild detergent and water to remove any dirt, grease, or debris. Ensure the surface is completely dry before applying polycrylic to avoid adhesion issues.
Sanding
Sand the surface with fine-grit sandpaper to create a smooth and even texture. This process helps the polycrylic adhere better and ensures a flawless finish.
By following these preparation steps, you can achieve optimal results from your polycrylic application. A clean and properly sanded surface is crucial for the successful adhesion and performance of the polycrylic coating.
Application Techniques
When it comes to achieving a flawless finish with polycrylic, mastering the right application techniques is essential. Proper application not only ensures a smooth and durable surface but also impacts the drying time of the product. Understanding the nuances of brushing versus spraying, as well as thin versus thick coats, is crucial for a successful polyacrylic application.
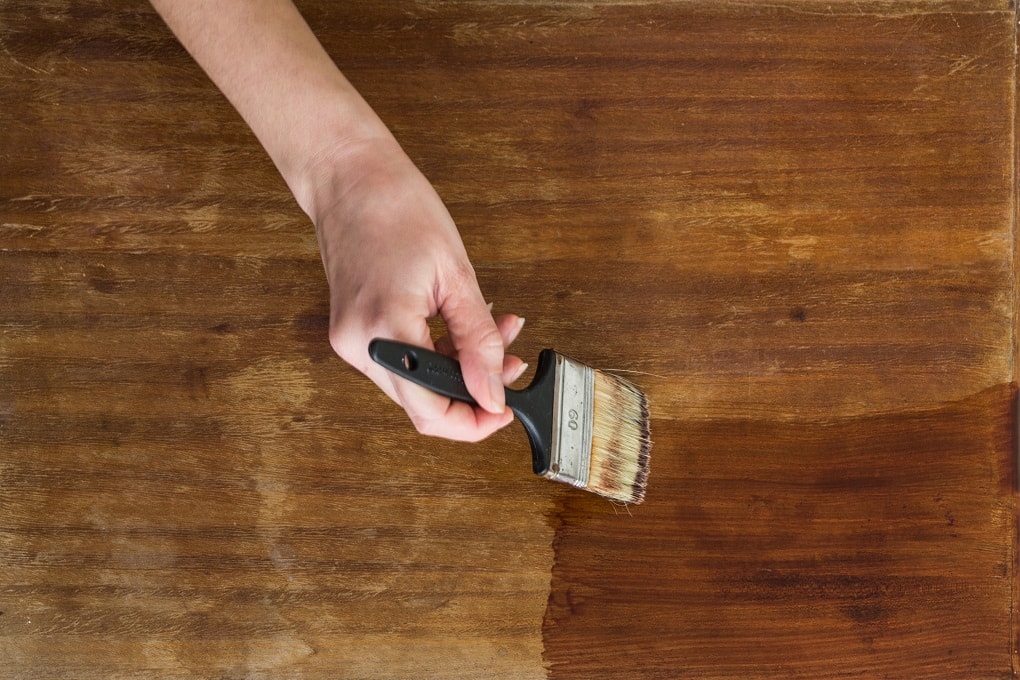
Brushing Vs. Spraying
Brushing and spraying are the two primary methods for applying polycrylic, each offering distinct benefits. Brushing is ideal for intricate surfaces and small projects, allowing for better control and an even coat. On the other hand, spraying provides a quick and efficient application, especially for large areas or pieces with intricate details.
Thin Vs. Thick Coats
When it comes to the thickness of the coats, applying thin coats is crucial for achieving an even finish and minimizing the drying time. Thick coats tend to take longer to dry and may result in uneven or drippy finishes. Applying multiple thin coats with proper drying time in between is the key to a successful application.
Credit: salvagedinspirations.com
Drying Time For Polycrylic
One of the most important factors to consider when using polycrylic is its drying time. Properly understanding how long it takes for polycrylic to dry is key in ensuring a successful application and finish.
Initial Drying Stage
In the initial drying stage, polycrylic starts to become touch-dry. This means that you can lightly touch the surface without leaving any noticeable marks. However, it is important to note that although the polycrylic may feel dry, it is not fully cured at this stage.
During the initial drying stage, the polycrylic may take anywhere from 30 minutes to 2 hours to become touch-dry, depending on various factors such as temperature and humidity levels. It is always recommended to follow the manufacturer’s instructions for the specific product you are using, as this will provide the most accurate drying time guidelines.
Cure Time
The cure time for polycrylic refers to the time it takes for the coating to fully harden and become durable. While the initial drying stage may give the illusion of a dry surface, the cure time is crucial for achieving a strong and long-lasting finish.
On average, polycrylic will take around 24 hours to fully cure. However, this timeframe can vary depending on factors such as the thickness of the application and the environmental conditions. It is recommended to wait at least 24 hours before subjecting the surface to any heavy use or placing objects on it to ensure the polycrylic has properly cured.
It is important to note that curing time can also be affected by temperature and humidity levels. In colder or more humid environments, the cure time may be longer. Conversely, warmer and drier conditions can accelerate the curing process.
By allowing the polycrylic to properly cure, you are ensuring a hard and durable finish that can withstand everyday wear and tear. Rushing the process may result in a weaker coating that is more prone to damage.
Tips For Speeding Up Drying Process
Wondering how to make Polycrylic dry faster? Here are a few handy tips:
Using Fans Or Dehumidifiers
Place fans or dehumidifiers near the drying Polycrylic to promote air circulation and speed up the drying process.
Applying Heat
Avoid direct heat from a drying lamp as it can cause streaking. However, you can use indirect heat or a hairdryer on a low, cool setting to help accelerate drying.
Credit: northernnester.com
Frequently Asked Questions On How Long Does It Take For Polycrylic To Dry
How Long To Wait Between Polycrylic Coats?
Wait at least 2 hours between Polycrylic coats for optimal results.
What Are The Disadvantages Of Polycrylic?
The disadvantages of Polycrylic include potential yellowing over time and limited heat resistance. It can also be challenging to apply without leaving streaks or brush marks. Additionally, it may not be suitable for use on high-traffic surfaces or outdoor applications.
Why Is My Polycrylic Sticky?
Polycrylic can be sticky if not properly applied or in humid conditions. To fix, lightly sand and reapply in a dust-free environment.
Is 4 Coats Of Polycrylic Too Much?
Applying 4 coats of Polycrylic may not be necessary as it can lead to a thick and uneven surface. It is recommended to follow the manufacturer’s instructions and apply the recommended number of coats for optimal results.
Conclusion
Understanding how long it takes for polycrylic to dry is essential for any DIY project. By considering factors such as temperature, humidity, and the type of finish used, you can ensure a successful and timely application. Patience is key, as allowing ample drying time will result in a durable and professional-looking finish.
Remember to follow the manufacturer’s instructions for best results. Happy crafting!