To put beads on shoelaces, thread the lace through the bead and then tie a knot at the end to secure it. Additionally, you can add multiple beads by repeating the process along the length of the shoelace.
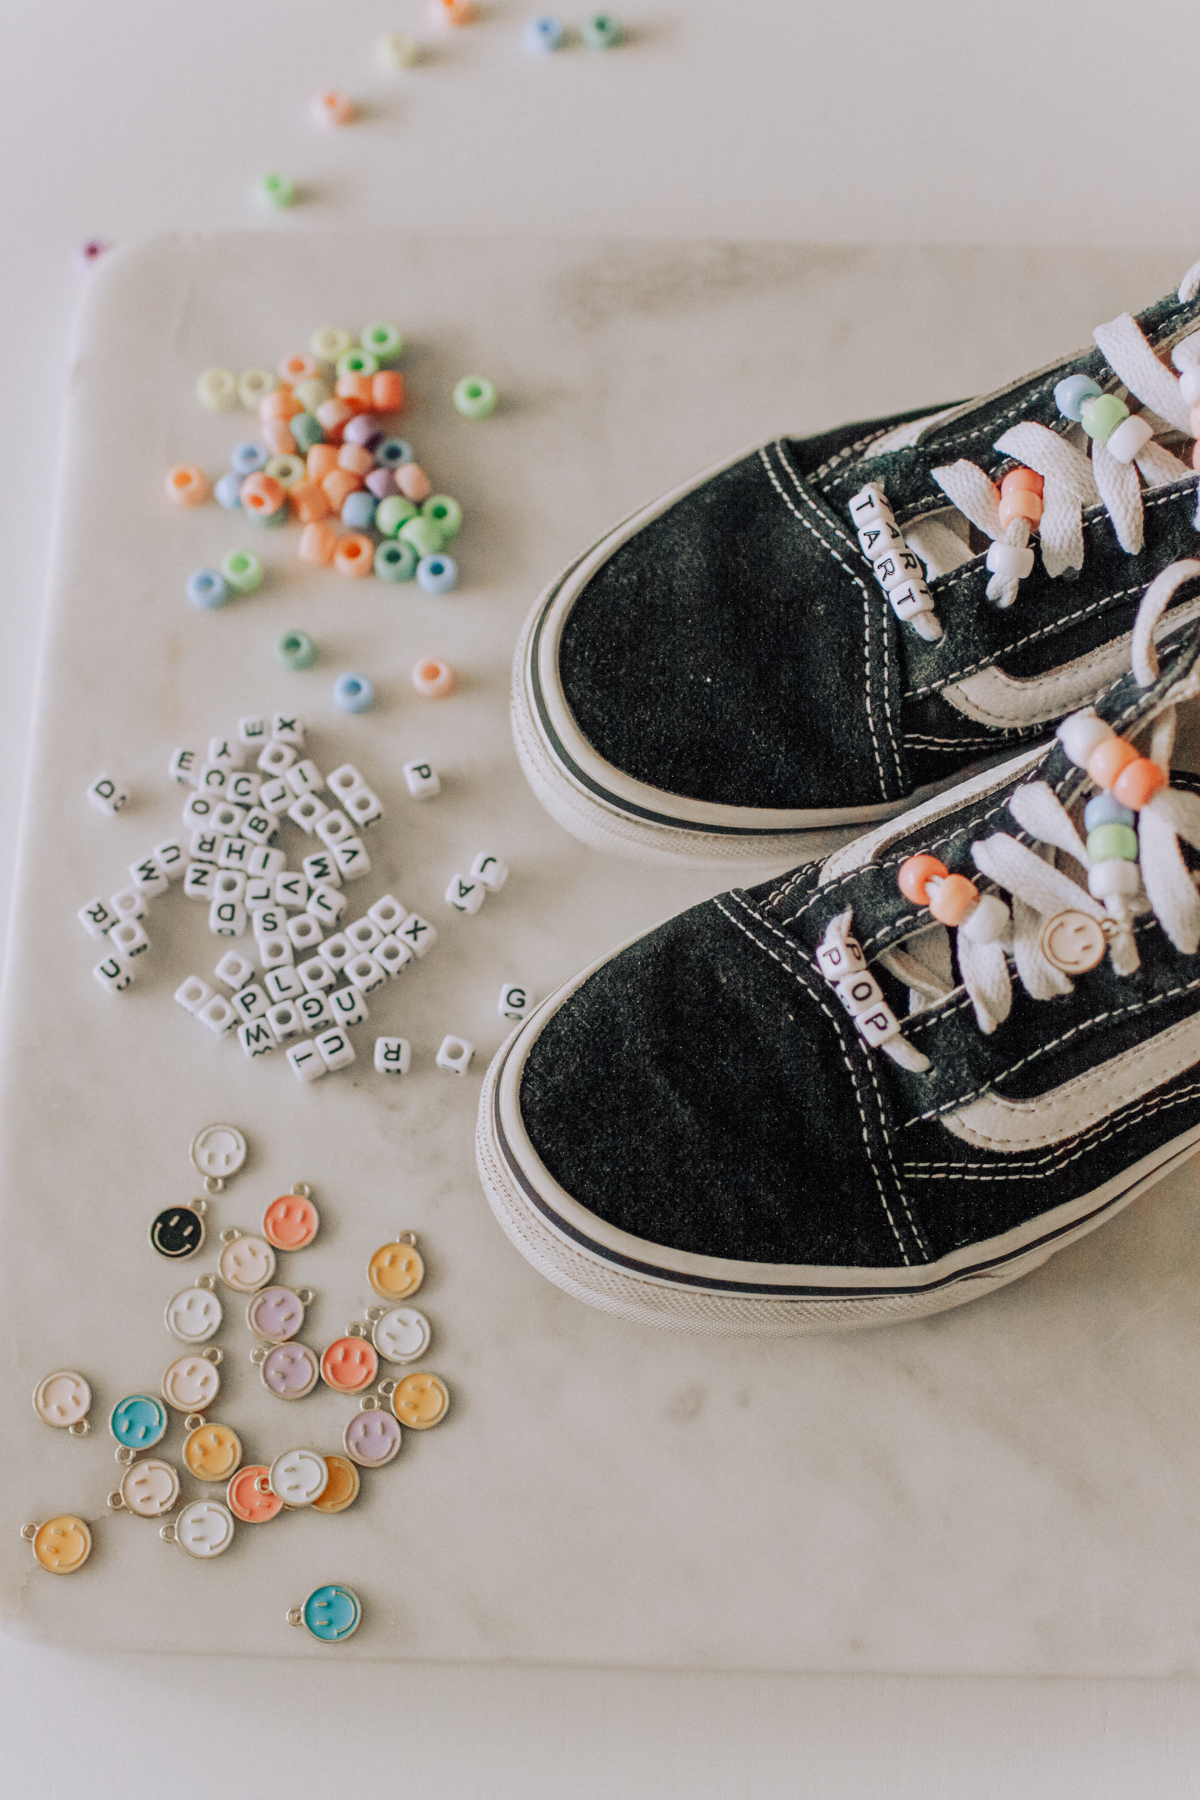
Are you looking to add some flair to your shoelaces? One fun and simple way to do it is by adding beads. Whether you want to add some color, create a unique pattern, or just personalize your shoes, adding beads to your shoelaces is a great way to make a statement.
We will guide you through the process of putting beads on shoelaces, so you can easily customize your footwear to match your style. Read on to learn how to put beads on shoelaces in a few simple steps.
Credit: raeannkelly.com
Choosing The Right Beads
When it comes to putting beads on shoelaces, choosing the right beads is crucial for achieving the desired look. Selecting the appropriate beads can enhance the overall aesthetic of your shoes and make a style statement.
Selecting The Type Of Beads
Consider the type of beads you want to use on your shoelaces. Various options like glass beads, wood beads, or metal beads can offer different textures and designs that complement your personal style.
Considering Size And Shape
Ensure the size and shape of the beads align with the thickness of your shoelaces. Bulky beads may not fit well on thin laces, while small beads might get lost on thicker ones. Choose beads that are visually appealing and proportionate to the lace size.
Preparing The Shoelaces
Preparing the shoelaces for beading is an essential first step to ensure a smooth and successful process. By following these simple steps, you can easily prepare the shoelaces for adding beads, giving your shoes a personalized and eye-catching look.
Removing Existing Shoelace Knots
To begin, carefully untie and remove any existing knots from the shoelaces. Make sure to gently pull the ends to straighten them out and ensure they are free from any tangles or twists.
Measuring And Cutting The Shoelaces
Next, measure the length of the shoelaces to determine how many beads can fit onto each lace. Using a ruler or tape measure, measure the length of the lace from tip to tip. Once measured, cut the lace to the desired length, ensuring the ends are cleanly cut and without fraying.
Stringing The Beads Onto The Shoelaces
When it comes to adding beads to shoelaces, the process of stringing the beads onto the shoelaces is an essential step in creating your own unique and stylish design. Whether you want to add some color, personality, or a touch of creativity to your shoes, stringing the beads onto the shoelaces allows you to customize your footwear in a fun and personalized way.
Using A Needle And Thread
One method for stringing beads onto shoelaces is by using a needle and thread. To do this, you will need a large-eye needle that can easily accommodate the shoelace and thread through the beads. Start by threading the shoelace through the eye of the needle, then begin sliding the beads onto the needle before pushing them down onto the shoelace. This method allows for precise placement of the beads and is ideal for intricate designs.
Using A Beading Wire
Another method is using a beading wire to string beads onto shoelaces. This approach requires a flexible beading wire that can easily maneuver through the beads and shoelaces. Simply string the shoelace through the beading wire, then add the beads on the wire before sliding them onto the shoelace. This method provides flexibility and ease of use, making it suitable for larger beads and a quicker stringing process.
Securing The Beads On The Shoelaces
Learn how to secure beads on shoelaces with this simple and easy-to-follow guide. Enhance your shoelaces with colorful beads and keep them in place for a fashionable and practical touch to your footwear.
`securing The Beads On The Shoelaces`
Securing the beads on your shoelaces is vital to ensure they stay in place and add a pop of personality to your shoes.
`tying A Knot At Each End Of The Beaded Section`
- `
`
- Ensure the beads are snug against the shoelace ` `
- Form a loop and pull the ends through ` `
- Pull tight to secure the knot ` `
`using Glue Or Clear Nail Polish`
`Apply a small drop of glue or clear nail polish`
- `
`
- Place a small amount on the knot to reinforce ` `
- Allow it to dry completely before wearing ` `
- Repeat on the other end for added security `
Finalizing The Beaded Shoelaces
Learn how to finalize beaded shoelaces by carefully threading beads onto the laces for a stylish finish. Personalize your shoes with this simple DIY method for a unique and chic look. Elevate your sneaker game with beaded shoelaces that stand out from the crowd.
Trimming Excess Thread Or Wire
Once you have successfully threaded your beads onto your shoelaces, it’s time to trim any excess thread or wire to ensure a polished look. Using a pair of sharp scissors, hold the shoelace firmly and carefully trim the excess material, ensuring not to cut the actual lace. Take extra care if you are using wire to thread your beads, as it can be sharp.Re-lacing The Shoes
Now that you have your beaded shoelaces ready, it’s time to re-lace your shoes. Remove the old laces from your shoes and start by threading one end of the beaded shoelace through the bottom eyelet, just as you would with regular laces. Pull the lace all the way through until the desired length is achieved, making sure the beads are evenly distributed along the shoelace. Repeat the process with the other lace, ensuring both are of equal length and the beads match on both sides. To make it easier to thread the shoelace through the eyelets, you can use needle threaders or even tape the lace ends to create a makeshift aglet. This will prevent fraying and make the lacing process smoother. If you prefer a different lacing style, such as crisscross or bar lacing, feel free to experiment and make the beaded shoelaces your own. The goal is to have a secure and comfortable fit while showcasing your unique style. Remember, when re-lacing your shoes with beaded shoelaces, it’s important to ensure that the laces are tight enough to keep your shoes secure but not too tight that they cause discomfort. Adjust the tightness as necessary and double knot the ends to prevent them from coming undone. With the final touches complete, you’re now ready to showcase your stylish and customized beaded shoelaces. Whether you’re adding a touch of flair to your sneakers or revamping your favorite pair of boots, beaded shoelaces are a fun and creative way to personalize your footwear. So go ahead, get crafty, and let your shoelaces make a statement!Credit: playboxofsweden.com

Credit: www.pinterest.com
Frequently Asked Questions For How To Put Beads On Shoelaces
How Do You Put Beads In Laces?
To put beads in laces, thread the lace through the bead’s hole. Pull the bead down the lace and secure it in place. Repeat for additional beads.
How Do You Decorate Shoes With Beads?
To decorate shoes with beads, gather supplies: beads, glue, and shoes. Plan design and layout. Apply glue and attach beads. Let dry, and enjoy your unique, custom-designed shoes.
How Do You Put Kandi On Shoelaces?
To put Kandi on shoelaces, thread the beads onto the shoelace one by one, creating desired patterns.
How Do You Tie Hidden Shoelaces?
To tie hidden shoelaces, first, thread the laces through the eyelets as usual. Then, instead of tying the knot on top, tuck the ends inside the shoe and hide them. This will give your shoes a neat and hidden appearance.
Conclusion
Now that you’ve mastered the art of putting beads on shoelaces, get creative and personalize your footwear. Experiment with different colors and patterns to make a statement with your style. Embrace the versatility of beaded shoelaces to add a unique touch to your shoes effortlessly.
Let your creativity shine!