Covering a well pump is a simple process that involves using a well pump cover to protect it from weather elements and potential damage. By following these steps, you can effectively cover your well pump and ensure its longevity and functionality.
Well pumps need to be protected from weather elements and potential damage to ensure their longevity. One of the best ways to achieve this is by covering the well pump with a well pump cover. This simple process involves following a few steps that will help you protect your well pump effectively.
We will discuss the step-by-step process of covering a well pump and highlight its benefits. By the end of this guide, you will have a clear understanding of how to cover a well pump and ensure its optimal performance over time.
Choosing The Right Cover
To protect your well pump effectively, it is crucial to choose the right cover. When selecting a cover, you need to consider the size, material, and durability to ensure long-term protection.
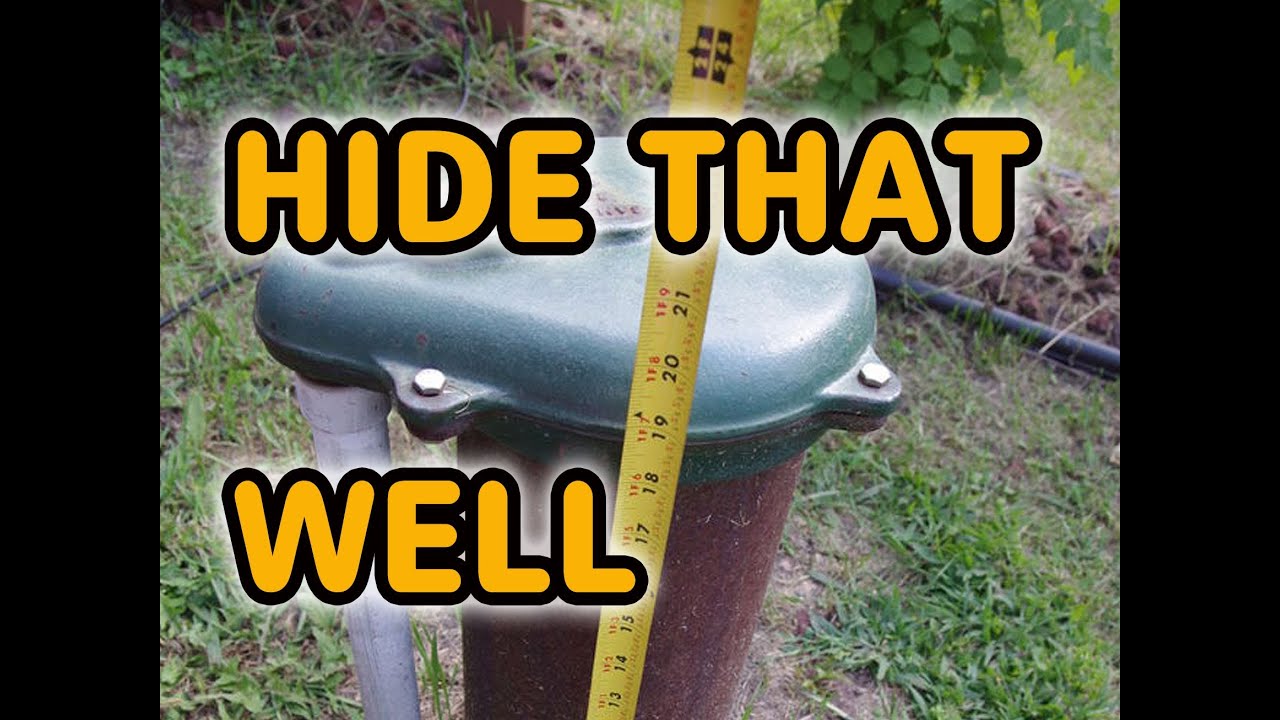
Measure The Well Pump
Before selecting a cover, measure the dimensions of your well pump to choose the appropriate size, ensuring a proper fit.
Selecting The Material
Choose a cover material that is weather-resistant and durable to withstand outdoor elements and provide maximum protection for your well pump.
Credit: www.youtube.com
Preparing The Well Pump Area
Before covering your well pump, it’s crucial to prepare the area properly. This ensures that the cover is stable, protects the pump, and keeps it easily accessible for maintenance and repairs. In this section, we will go over the essential steps to take when preparing the well pump area.
Clearing Debris
Step 1: Start by clearing away any debris around the well pump. This includes rocks, branches, leaves, and any other obstacles that may hinder the installation of the cover.
Step 2: Remove any overgrown vegetation near the pump. This not only provides a clear path for installation but also prevents plants from interfering with the functionality of the pump in the future.
Leveling The Ground
Step 3: Ensure that the ground around the well pump is level. If the area is uneven, it can lead to instability and potential damage to the cover. Use a shovel or leveling tool to smooth out any bumps or unevenness.
Step 4: If the ground is too soft or prone to erosion, it’s advisable to lay a foundation. This can be achieved by adding a layer of gravel or compacted soil to provide a stable base for the well pump cover.
Step 5: Use a level to check the evenness of the ground. Adjust as necessary to ensure the pump area is perfectly level and balanced.
By following these simple steps, you can prepare the well pump area effectively. This ensures that your well pump cover is stable, provides protection, and allows for easy access when needed. Once the area is prepared, you can move on to covering the well pump, which we will discuss in the next section.
Installing The Cover
Covering your well pump is a crucial step in ensuring its protection and longevity. It shields the pump from the elements and prevents any damage. When it comes to installing the cover, there are a few key aspects to consider: securing the cover and adding ventilation.
Securing The Cover
Securing the cover properly is essential to ensure it stays in place, even during extreme weather conditions. Here’s how you can do it:
- Start by measuring the dimensions of your well pump. This will help you choose the right-sized cover for a perfect fit.
- Once you have the cover, place it over the well pump and ensure it adequately covers the entire unit.
- Next, use heavy-duty straps or bungee cords to secure the cover firmly in place. Attach them to the sides of the cover and fix them tightly around the base of the pump.
- If the cover comes with built-in loops or grommets, utilize them to fasten the straps or bungee cords securely. This will provide an extra layer of stability to the cover.
Adding Ventilation
Ventilation is crucial to prevent condensation and to allow proper airflow within the covered area. Here are some tips for adding ventilation to your well pump cover:
- Consider installing vents on the sides or top of the cover. These vents should have a protective mesh or screen to prevent any debris or small animals from entering.
- Ensure that the vents are strategically placed to allow for efficient airflow while still maintaining the cover’s integrity.
- Regularly inspect the vents to ensure they are free from blockages, such as leaves, dirt, or spider webs. Any obstructions can hinder the airflow and lead to moisture build-up.
By securing the cover properly and adding appropriate ventilation, you can protect your well pump and prolong its lifespan. Regularly check the cover for any signs of wear and tear, and promptly replace it if needed. Taking these simple steps will give you peace of mind knowing that your well pump is well-protected for years to come.
Credit: www.pinterest.com
Maintaining The Cover
Covering your well pump is essential to protect it from the elements and ensure its longevity. Maintaining the cover is crucial in preserving the functionality and appearance of your well pump. Here are some tips on how to effectively maintain the cover:
Checking For Wear And Tear
Regularly inspect the cover for any signs of wear and tear such as cracks or fading.
Cleaning Regularly
Keep the cover clean by washing it with mild soap and water periodically.
Enhancing Safety And Aesthetics
Adding A Lock
Installing a lock on the well pump cover is crucial for preventing unauthorized access. A secure lock provides peace of mind and helps ensure the safety of the well pump. It also deters curious children or animals from tampering with the pump, reducing the risk of accidents.
Landscaping Around The Cover
Landscaping around the well pump cover not only enhances the aesthetics of the area but also serves practical purposes. By incorporating plants or decorative rocks, you can effectively camouflage the cover, blending it seamlessly into the surrounding environment. Additionally, well-thought-out landscaping can help protect the cover from damage and prolong its lifespan.

Credit: www.pinterest.com
Frequently Asked Questions On How To Cover A Well Pump
Should You Cover A Well Pump?
Yes, it’s a good idea to cover a well pump to protect it from debris, freezing, and damage. This can help extend its lifespan and ensure it continues to function properly. Regular maintenance and protection can prevent costly repairs in the future.
How Do You Hide A Well Pump?
To hide a well pump, consider using a well pump cover or enclosure made of durable material. Strategically place landscaping or decorative elements to camouflage the pump while allowing access for maintenance. Regularly maintain and inspect the cover to ensure the pump remains hidden.
How Do I Keep My Well Pump From Freezing?
To prevent your well pump from freezing: 1. Insulate the pipes with foam sleeves. 2. Install a well house or enclosure around the pump. 3. Use a heater or heat tape on the pump and pipes. 4. Let a small trickle of water run to keep it moving.
5. Close the well house or cover the pump during extreme cold temperatures.
Should Water Pumps Be Covered?
Water pumps should not be covered as they need proper ventilation to operate efficiently. Covering a water pump can block the air circulation, causing it to overheat and potentially malfunction. It is important to keep the pump uncovered to ensure its optimal performance.
Conclusion
Ensuring your well pump is properly covered protects it from potential damage and extends its lifespan. By following the steps outlined in this guide, you can effectively shield your well pump from the elements. Remember to prioritize maintenance to keep your well pump functioning optimally for years to come.